|
The rest of this build is straight forward and close attention to the instructions will save any mistakes. I did not marry the deck and hull until the camouflage was complete as this is a large model and it is easy to handle the parts separately.
For the colour scheme I used the following paints and as you can see by the photos seem to harmonise pretty well.
- The camouflage was Tamiya unless stated.
- Over the already painted hull and cabins I used:
- XF26 Deep Green
- XF 1 Flat Black
- XF 67 Nato Green for weapons
- XF Gold Leaf
- Dulux Silversheen Torpedoes
- Humbrol 53 Deck hardware and weapons.
So as to help your build I am listing the points that I found to be important as I progressed and am sure that if you follow them your build will be easier.
- When you drill the deck holes make sure you do not miss any.
- Install windows with Future Floor Polish as well as transfers.
- Use brass rings (small) for the through hull fittings. The supplied photo etch is inadequate. Super glue to hull then drill out.
- Antifouling (I used Holts Centre Red) do this before installing the exhaust system this way you will get a nice straight line on the stern.
- When painting is complete i.e. deck hull and cabins… join it together with screws and spray the model with matt varnish. I used Wattyl Estapol. This will protect it from marking.
- Paint as much of the deck hardware and fittings as possible whilst on the sprue and touch up later.
- Assemble the mast and all its fittings before you install it. Also remove the halyards and replace with cotton. Looks better.
- Complete the torpedoes and marry them to their racks and use light cord to hold them. Do not use the wire supplied as it too heavy and breaks the eyelets.
- Also check that the torpedo racks fit in the holes you have drilled. I had to enlarge mine to get a snap fit.
- If you intend to leave a hatch open the glue a piece of card board on the underside of the deck before you screw it together.
Click the images below to view a larger photo
|
|
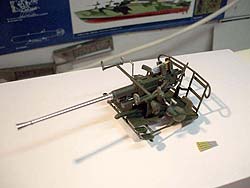
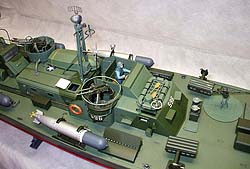
The weapons have great detail |
The ammunition accented in gold and silver makes it more realistic |
|
|
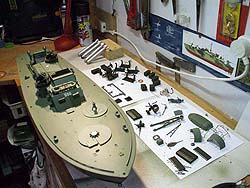
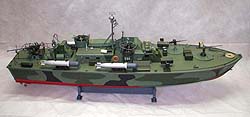
Ready for final assembly |
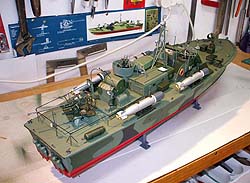
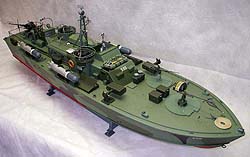
Assembled and awaiting final matt varnish |
| |
Success! |
This is a great build and I did it in about 70 hours. What would I change?
Pity that the deck was not made to look as if it was wooden planked.
It looks ridiculous the way they have the anchor with a bit of rope to the bow ring. 80 ft long weighing 60 ton with a little Danforth and no winch?
As I live on the coast of the Pacific Ocean I know how mean it can be.
Some figures would also be great considering the price. I am making my own from some left over from the Italeri Landing Craft.
|
|
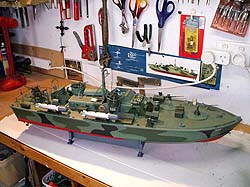
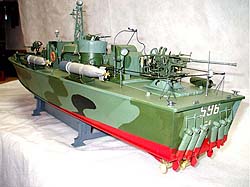
The finished model |
Added crew member from another kit |
|
|
| |
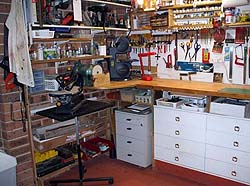
This is where the model was built |
That's it. Hope this article is usefule to you in builidng you next model.
Let me know how you progress with your Elco.
Les Rogers
|